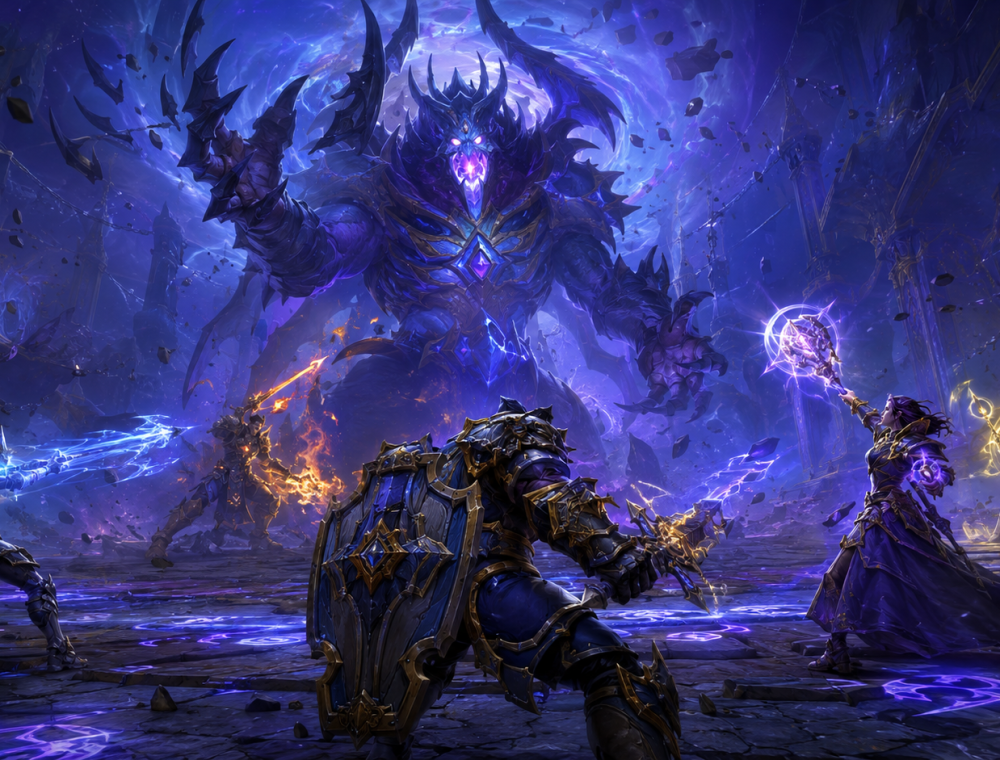
Season 2 Dungeon Guides
Mythic+ Dungeons are one of the core endgame activities in World of Warcraft. They offer an important way to farm gear while also testing your skills and the strength of your character.
Mythic+ can be even more challenging than raids for several reasons:
- More difficulty levels: Raids have four difficulties, while Mythic+ keys can go beyond level 25, making every boss and enemy increasingly dangerous.
- More individual responsibility: Mythic+ groups consist of only five players, so every player has a major role to play. A single mistake can cause the entire run to fail.
- More preparation: Instead of learning nine raid bosses, you need to master eight dungeons, each with 3-4 bosses, as well as dungeon routes and dangerous trash abilities.
We’ve decided to help you with the most important part of every run – the bosses. Below, you’ll find brief, role-specific guides for every boss in every Midnight Season 2 Mythic+ dungeon, covering the key mechanics for Tanks, Healers, and DPS.
Altar of Fangs
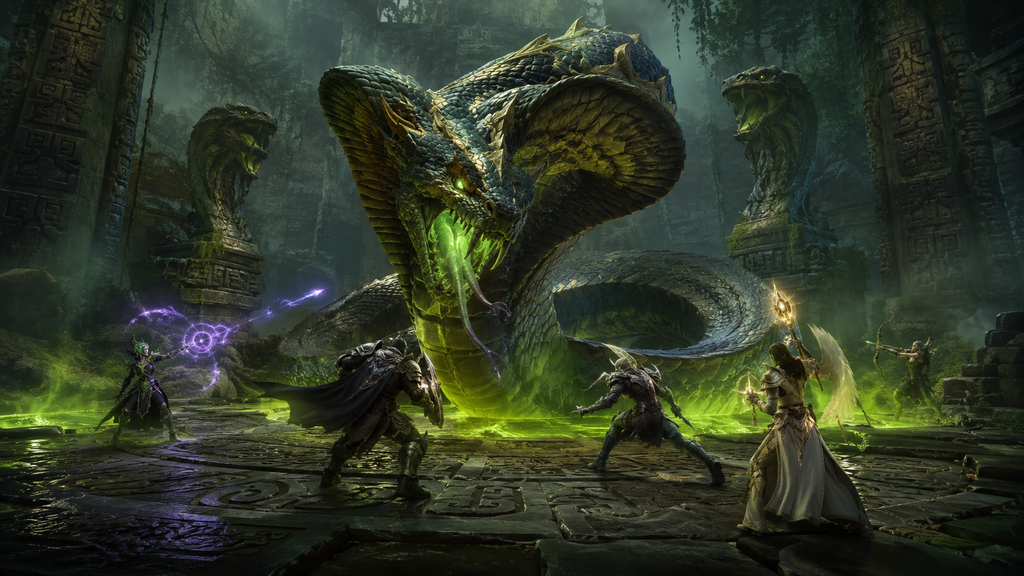
Rav’i
Tank. Keep Rav’i in melee range and manage Hydrastrike. Watch where Fresh Meat lands, as Rav’i will enter Feeding Frenzy if she reaches a Carrion Pile containing it.
Healer. Prepare for increasing raid-wide damage from Carrion Burst while Rav’i is eating. Heal players affected by Triple Shot and keep the group moving away from Regurgitate acid waves.
Damage Dealers. When Rav’i begins Ssscavenging or Feeding Frenzy, quickly break her absorb shield to stop the cast and prevent further Carrion Burst stacks. Dodge the acid waves from Regurgitate.
The Writhing Coil
Tank. Keep the boss positioned away from the group and watch Tail Scythe for heavy Physical damage. When Death Rattle begins, use Vine Grip to interrupt it and trigger Uncoil.
Healer. Prepare for increasing raid-wide damage from Death Rattle. Interrupt it with Vine Grip to prevent the damage from escalating and trigger Uncoil.
Damage Dealers. Use Vine Grip to interrupt Death Rattle and trigger Uncoil. During the Uncoiled phase, focus the exposed serpents, as damage dealt carries over after Assimilation. Manage Toxic Atrophy, which reduces movement speed and damage.
Zul’jan
Tank. Manage heavy damage from Chop Down and help intercept Ritual of the Fang to protect the group. Use Bloodletting to remove Ritual Venom and avoid letting its stacks build too high.
Healer. Keep the group healthy through Ritual of the Fang and damage from Axegrinder and Boneslicer. Use Bloodletting to remove Ritual Venom before it becomes dangerous.
Damage Dealers. Help intercept Ritual of the Fang and avoid Axegrinder and Boneslicer. Use Bloodletting to clear Ritual Venom and prevent its stacks from becoming dangerous.
Murder Row
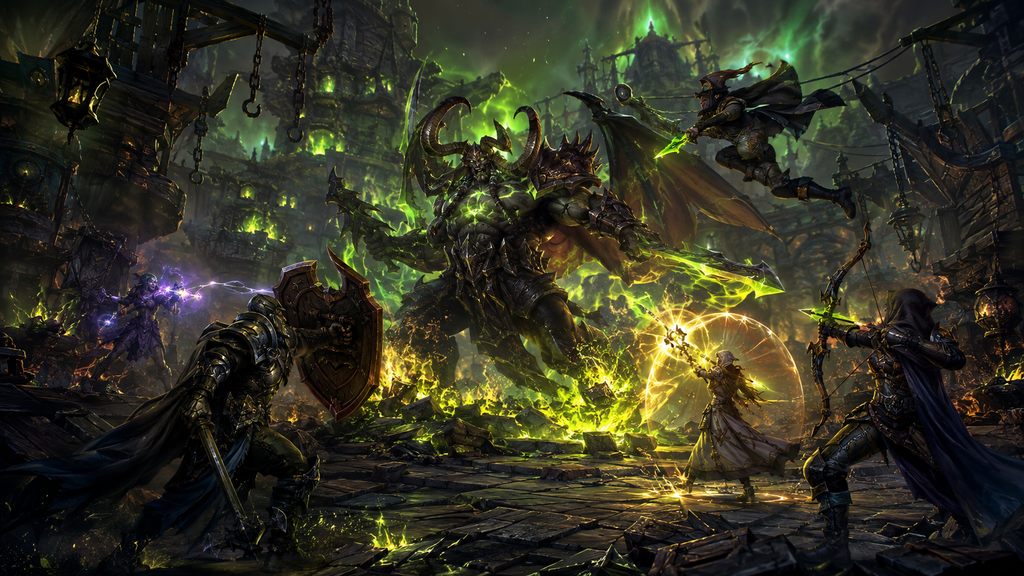
Kystia Manaheart
Tank. Keep Kystia controlled while Illicit Infusion makes Nibbles hostile. Avoid Fel Spray and interrupt Mirror Images whenever possible. Help manage Nibbles while the infusion is active.
Healer. Prepare for heavy raid-wide damage during Destabilized. Avoid Fel Spray and keep the group stable while Nibbles is hostile under Illicit Infusion. Once the infusion is removed, support Nibbles as she assists the group.
Damage Dealers. Help remove Illicit Infusion from Nibbles to free her and turn her against Kystia. Avoid Fel Spray and interrupt Mirror Images to prevent additional threats.
Zaen Bladesorrow
Tank. Keep Zaen controlled and manage heavy damage from Envenom. When Zaen reaches 100 energy, immediately take cover to avoid Murder in a Row. Avoid Same-Day Delivery and Fire Bomb.
Healer. Keep the group healthy through the encounter and immediately get behind cover when Zaen casts Murder in a Row at 100 energy. Avoid Same-Day Delivery and Fire Bomb.
Damage Dealers. When Zaen reaches 100 energy, get behind cover to survive Murder in a Row. Avoid Same-Day Delivery and Fire Bomb while continuing to damage the boss.
Xathuux the Annihilator
Tank. Position Xathuux carefully during Burning Steps, as the fel pools expand from his location and remain for a long time. Use defensives for Legion Strike, which deals heavy damage and reduces incoming healing.
Healer. Be ready for heavy tank damage from Legion Strike and its healing reduction. Heal through the raid-wide Fel Lightning while DPS destroys the Axe Toss axe as quickly as possible.
Damage Dealers. Destroy the axe from Axe Toss quickly to stop Fel Lightning from damaging the group. During Burning Steps, avoid the expanding fel pools and stay in a safe position.
Lithiel Cinderfury
Tank. Keep Lithiel controlled and manage the Furious Vilefiend, which deals heavy damage. Interrupt Chaos Bolt whenever possible to prevent lethal damage to a random player.
Healer. Prepare for heavy damage from Furious Vilefiend and Malefic Wave. Use Lithiel’s Demonic Gateway to pass through Malefic Wave safely and avoid its initial damage and lingering Fire vulnerability.
Damage Dealers. Interrupt Chaos Bolt immediately to prevent heavy damage. Kill the summoned Wild Imps quickly, as demons still alive when Malefic Wave passes over them gain Malefic Empowerment. Use the Demonic Gateway to cross the wave safely.
Den of Nalorakk
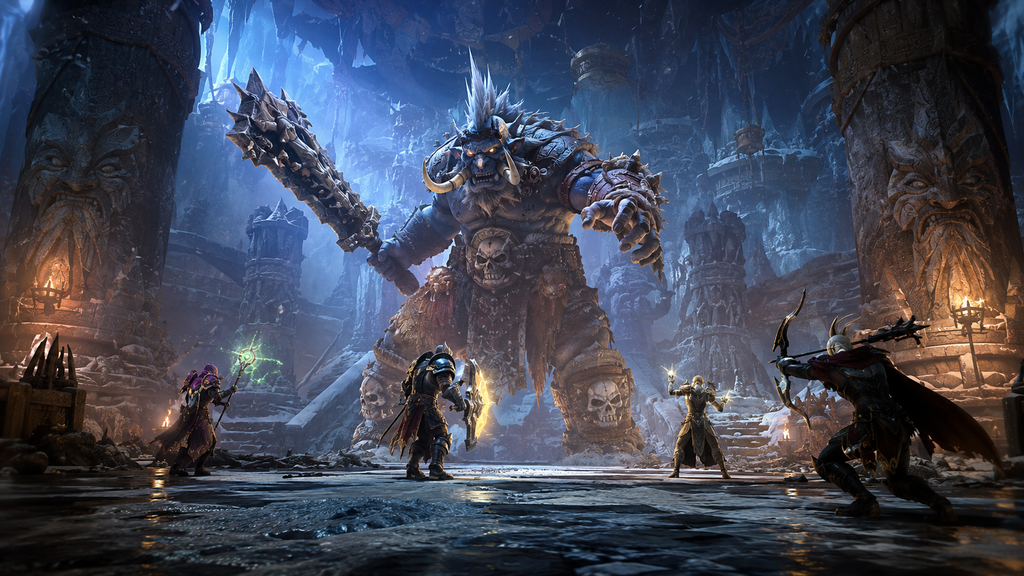
The Hoardmonger
Tank. Keep the Hoardmonger facing away from the group to avoid Earthshatter Slam and Bonespike Slam. During Resourceful Measures, watch which resource pile he moves toward and maintain control of the boss. Be ready for heavy raid damage from Ravenous Bellow and Hearty Bellow.
Healer. Prepare for heavy raid-wide damage from Ravenous Bellow and Hearty Bellow. Use Poison-cleansing effects on Toxic Spores when possible and heal players who are hit by the boss’s frontal slams.
Damage Dealers. Interact with Rotten Mushrooms to apply Toxic Spores and prevent Putrid Burst. Avoid the frontal cones from Earthshatter Slam and Bonespike Slam, and be ready for heavy raid damage from Ravenous Bellow and Hearty Bellow.
Sentinel of Winter
Tank. Keep Sentinel of Winter controlled while avoiding Raging Squalls. During Frozen Tempest, use defensives and maintain your position against the constant pushback. Be aware that killing Fractured Shivercores creates Snowdrifts and triggers Rimeshatter.
Healer. Prepare for heavy raid-wide damage and pushback from Frozen Tempest. Dispel Glacial Torment with Magic-cleansing effects when possible. Heal through damage from Raging Squalls and Rimeshatter when Shivercores are defeated.
Damage Dealers. Kill Fractured Shivercores quickly to stop Winter’s Shroud, but be ready for Rimeshatter and the Snowdrifts they leave behind. Avoid Raging Squalls and maintain positioning during the pushback from Frozen Tempest.
Nalorakk
Tank. Keep Nalorakk controlled and make sure Zul’jarra is protected by her Defensive Stance when he uses Overwhelming Onslaught. During Fury of the War God, help intercept the Echoes of Nalorakk before they reach Zul’jarra. Be ready for additional Echoing Maul from active Echoes and quickly reposition after Forceful Roar.
Healer. Prepare for significant damage from Overwhelming Onslaught, even while Zul’jarra is protected by Defensive Stance. During Fury of the War God, keep players intercepting the Echoes of Nalorakk healthy. Be ready for additional Echoing Maul from active Echoes and recover quickly after the pushback from Forceful Roar.
Damage Dealers. During Fury of the War God, intercept the Echoes of Nalorakk before they reach Zul’jarra, causing them to cast Echoing Fury on you instead. Be ready for additional Echoing Maul from every active Echo when Nalorakk casts it. Recover your position after the pushback from Forceful Roar and continue attacking the boss.
The Blinding Vale
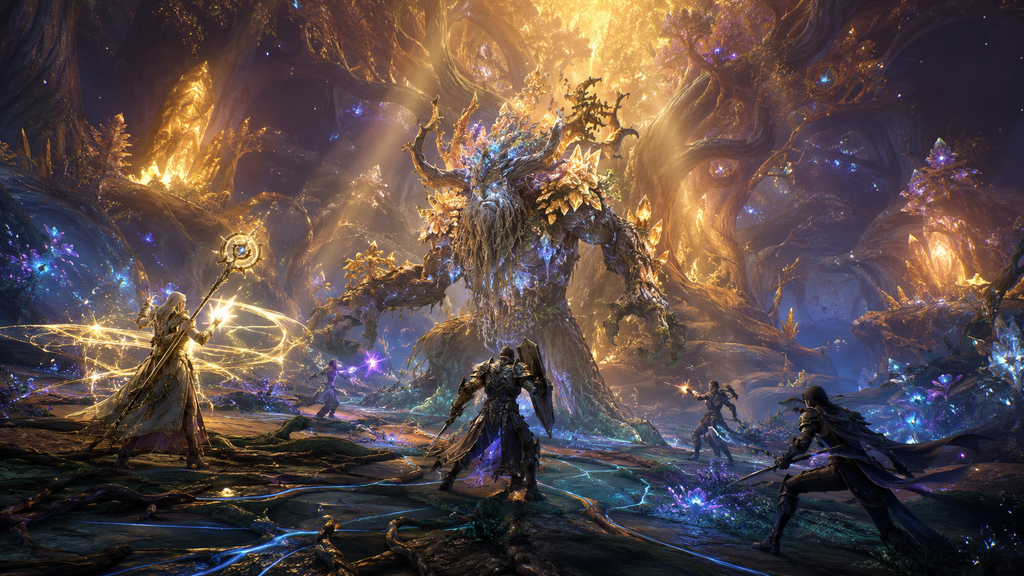
Lightblossom Trinity
Tank. Keep the trio controlled and use Bedrock Slam to place Fertile Loam in safe locations. Help block Lightblossom Beam to prevent Light-Gorged stacks and prepare for Lightbloom Overgrowth.
Healer. Heal through heavy damage from Lightbloom Overgrowth and high-damage Thornblade bleeds. On Mythic and Mythic+, also prepare for periodic damage from Bedrock Surge. Help players blocking Lightblossom Beam stay alive.
Damage Dealers. Block Lightblossom Beam to prevent Light-Gorged stacks and reduce Lightbloom Overgrowth damage. Damage the trio, remembering that Thicket’s Trinity shares damage between them.
Ikuzz the Light Hunter
Tank. Keep Ikuzz controlled and help free players trapped by Bloodthorn Roots. When Ikuzz uses Bloodthirsty Gaze, help protect the targeted player and, when possible, prevent Incise.
Healer. Heal through raid-wide Nature damage from Thorncaller Roar and heavy damage from Incise. Help free players trapped by Bloodthorn Roots.
Damage Dealers. Destroy Bloodthorn Roots quickly to free trapped players. When Bloodthirsty Gaze targets a player, help prevent Ikuzz from reaching them and casting Incise.
Lightwarden Ruia
Tank. Keep Ruia controlled through his different forms. In Moonkin form, be ready for Warden’s Wrath instead of normal melee attacks. Avoid exposing the group to Pulverizing Strikes and reposition away from Lightfall impacts.
Healer. Keep players affected by Grievous Thrash at full health to remove the effect. Heal through Pulverizing Strikes and heavy damage from Lightfall. At 40% health, prepare for the rapid ability casts during Spirits of the Vale.
Damage Dealers. Avoid the cones from Pulverizing Strikes and move away from Lightfall impacts. At 40% health, be ready to handle Ruia’s abilities in rapid succession during Spirits of the Vale.
Ziekket
Tank. Keep Ziekket controlled and be ready for Thornspike on the current target. During Awaken the Lightbloom, control the spawned Lightspawn Lashers and keep them from overwhelming the group.
Healer. Heal through constant raid damage from Oozing Xylem. Be ready to heal players who touch Lightbloom’s Essence, as it deals Holy damage but increases damage and healing done.
Damage Dealers. Use Concentrated Lightbeam to destroy dormant Lightspawn Lashers and turn them into Lightsap. Collect Lightbloom’s Essence when safe to gain increased damage, and help kill newly spawned Lashers.
Voidscar Arena
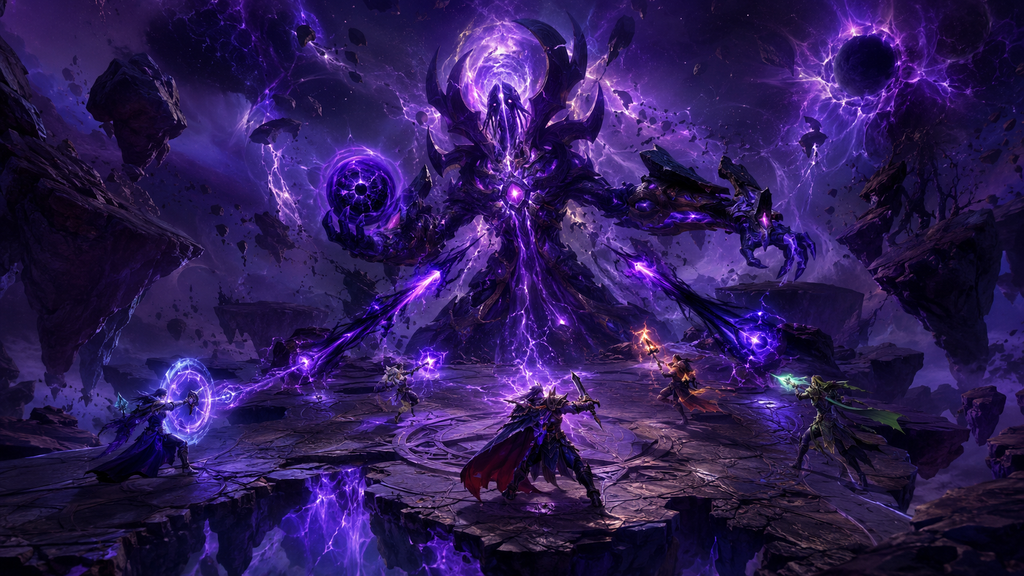
Taz’Rah
Tank. Keep Taz’Rah controlled and use defensives for heavy damage from Void Blast. During Dark Bloom, avoid the erupting Void Fissures and reposition as needed.
Healer. Prepare for heavy raid-wide Shadow damage from Dark Bloom and the long-lasting damage from Nether Dash. Keep players out of the line of the Ethereal Shades and heal through damage from erupting Void Fissures.
Damage Dealers. Avoid standing in front of Ethereal Shades when they cast Nether Dash and move away from erupting Void Fissures during Dark Bloom. Focus Taz’Rah while avoiding unnecessary Shadow damage.
Atroxus
Tank. Keep Atroxus facing away from the group to avoid Noxious Breath. Use defensives for heavy Nature damage from Hulking Claw and manage the stacking Nature damage vulnerability from Sickening Bite.
Healer. Keep the tank healthy through heavy Nature damage from Hulking Claw and help the group avoid Noxious Breath. Prepare for heavy raid-wide damage from Monstrous Roar and heal the player targeted by the Toxic Creeper.
Damage Dealers. Stay behind or beside Atroxus to avoid Noxious Breath. Be ready for heavy raid damage from Monstrous Roar and focus the summoned Toxic Creeper when needed. Avoid unnecessary damage from Poison Splash.
Charonus
Tank. Keep Charonus controlled and avoid standing in Unstable Singularity, which slows players and deals Shadow damage. Watch the Gravitic Orbs and help position them so Unstable Singularity can collapse them.
Healer. Prepare for heavy raid damage from Condensed Mass. Watch players targeted by Gravitic Orbs and keep them healthy while they position the Orbs for collapse with Unstable Singularity.
Damage Dealers. Avoid Unstable Singularity and help position Gravitic Orbs inside Singularity zones to collapse them. Continue damaging Charonus while avoiding unnecessary Shadow damage.
King’s Rest
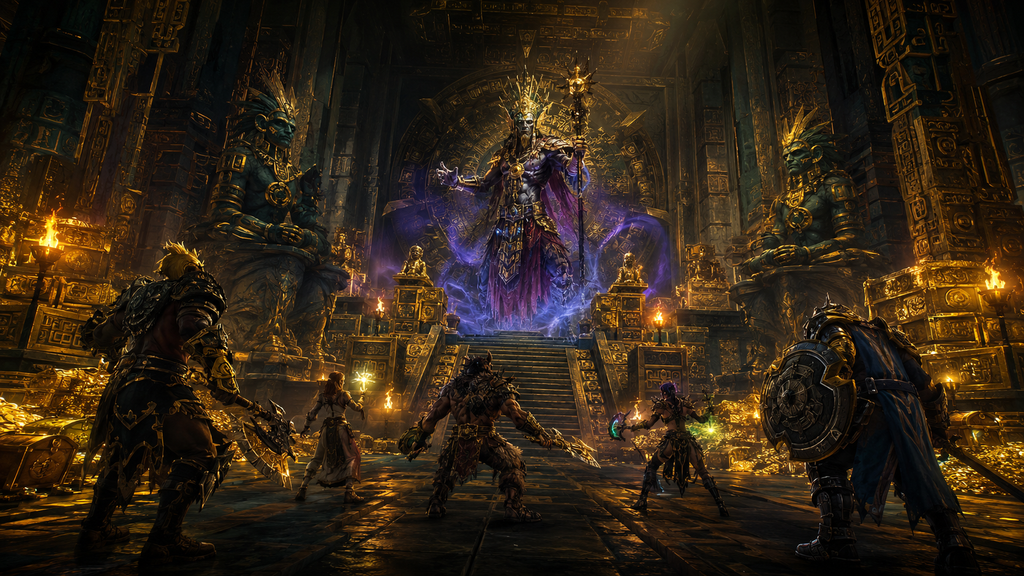
The Golden Serpent
Tank. Keep the Golden Serpent facing away from the group to avoid unnecessary damage from Tail Thrash. Prevent Animated Gold from reaching the boss, as each stack of Luster shields the Serpent and increases its damage.
Healer. Heal players affected by Spit Gold, which deals Fire damage over time and leaves Molten Gold behind. Prepare for raid-wide damage from Serpentine Gust and keep the group healthy while dealing with the gold pools.
Damage Dealers. Avoid standing in Molten Gold and prevent Animated Gold from reaching the boss after Lucre’s Call. Focus the Animated Gold quickly to prevent Luster stacks and keep damaging the boss.
Mchimba the Embalmer
Tank. Keep Mchimba controlled while managing the Finished Mummies summoned by Open Coffin. Be ready to help free players affected by Entomb and keep the mummies away from the group.
Healer. Keep players affected by Drain Fluids above 90% health to remove Desiccation after the channel ends. Heal targets of Burn Corruption and keep the group away from Burning Ground. Help free players trapped by Entomb.
Damage Dealers. Help free players trapped by Entomb and quickly kill Finished Mummies from Open Coffin. Avoid Burning Ground and stay healthy enough to remove Desiccation when needed.
The Council of Tribes
Tank. Keep the active counselor controlled and be ready for Debilitating Backhand, which knocks you back and applies Shattered Defenses. During Barrel Through, help the group stack on the targeted player to split the damage.
Healer. Prepare for group damage from Barrel Through and Poison Nova. Heal players affected by the damage-over-time from Severing Axe and be ready for increased damage when councilors temporarily return from their urns.
Damage Dealers. Stack with the targeted player during Barrel Through to split its damage. Kill the active councilor while handling Poison Nova and quickly deal with the three elemental totems from Call of the Elements. Be ready when defeated councilors briefly return to use their abilities.
Dazar, The First King
Tank. Keep Dazar controlled and use defensives for heavy damage from Blade Combo. After Dazar mounts T’zala at 80% health, watch for the tank debuff from Savage Maul, which increases Physical damage taken.
Healer. Prepare for raid-wide Fire damage from Gilded Destruction. Heal players hit by Impaling Spear through the heavy damage and bleed. Be ready for increased tank damage from Savage Maul.
Damage Dealers. Avoid Impaling Spear and move away from the landing areas of Aerial Smash and Quaking Leap. Continue focusing on Dazar and T’zala while avoiding their area damage.
Ruby Life Pools
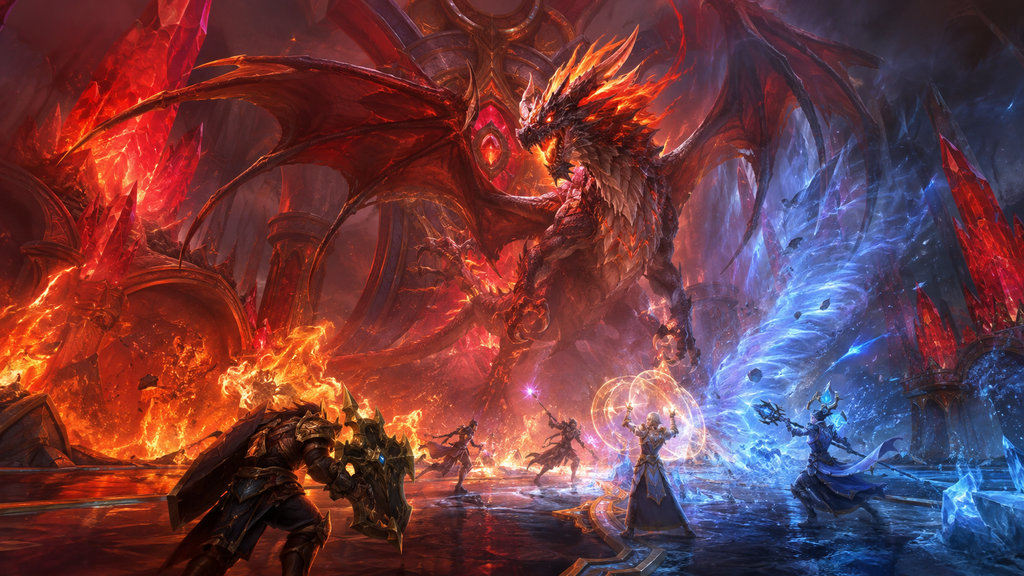
Melidrussa Chillworn
Tank. Keep Melidrussa controlled and pick up the Infused Whelps from Awaken Whelps. Watch their Cold Claws stacks and use defensives when needed. On Mythic and Mythic+, help interrupt Frost Overload before it becomes deadly.
Healer. Prepare for significant raid damage from Chillstorm and Hailburst. Keep the tank healthy while Infused Whelps apply Cold Claws. On Mythic and Mythic+, be ready for heavy damage from Frost Overload.
Damage Dealers. Kill the Infused Whelps from Awaken Whelps quickly. Avoid unnecessary damage from Chillstorm and Hailburst. On Mythic and Mythic+, interrupt Frost Overload before it becomes deadly.
Kokia Blazehoof
Tank. Keep Kokia controlled and manage Searing Blows, as each hit applies Searing Wounds. Interrupt Blaze Volley when possible and pick up Blazebound Firestorms during Ritual of Blazebinding.
Healer. Prepare for heavy raid damage from Inferno and Molten Boulder. Keep the player targeted by Ritual of Blazebinding healthy through its damage and watch the tank’s Searing Wounds.
Damage Dealers. Kill Blazebound Firestorms quickly after Ritual of Blazebinding and interrupt Blaze Volley. Avoid Molten Boulder, as it deals heavy Fire damage and knocks players back.
Kyrakka and Erkhart Stormvein
Tank. Keep Erkhart controlled, and use defensives to mitigate heavy damage from Stormslam. Manage space around Flaming Embers created by Inferno Spit and reposition carefully during Winds of Change.
Healer. Prepare for significant damage from Inferno Spit and keep the group healthy while dealing with Winds of Change. Be ready for Interrupting Cloudburst interrupts, which force you to reposition.
Damage Dealers. Avoid Flaming Embers and adjust your position during Winds of Change. Interrupt the Interrupting Cloudburst when possible, then keep damaging the active bosses.
Temple of Sethraliss
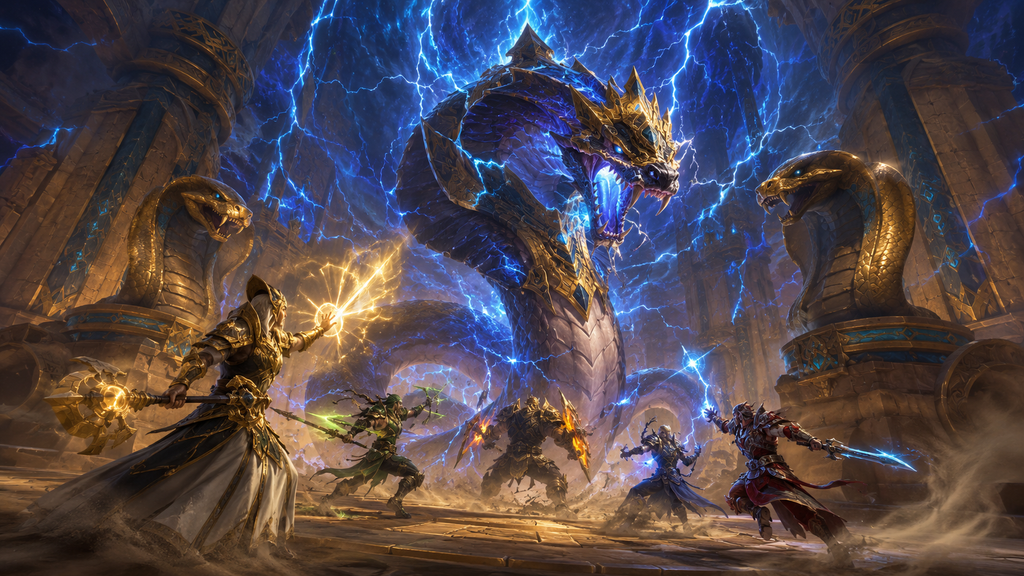
Adderis and Aspix
Tank. Keep the active boss controlled and use defensives during Overload, as Adderis rapidly increases his Nature damage. During Thunder and Lightning, stack with the group to split the damage and reposition after Gale Force.
Healer. Heal through damage from Tempest Winds and Thunder and Lightning. Keep the group together for the shared damage and prepare for the pushback from Gale Force.
Damage Dealers. Focus the boss that Storm Blessed does not protect, as the effect grants damage immunity. Stack Thunder and Lightning to split its damage and maintain your position during Gale Force.
Merektha
Tank. Keep Merektha controlled and use defensives for Lightning Bite. Pick up the snakes from Hatch and keep Storm Serpents away from the group, as Storm Catalyst leaves Lingering Storm on the ground.
Healer. Prepare for heavy raid damage from Serpentstorm and Burrowquake while Merektha is burrowing. On Mythic and Mythic+, heal through damage from A Knot of Snakes while it remains active.
Damage Dealers. Kill the snakes from Hatch quickly and interrupt Toxic Vipers’ Poison Spit. On Mythic and Mythic+, destroy A Knot of Snakes to free stunned players. Avoid Lingering Storm and continue damaging Merektha.
Galvazzt
Tank. Keep Galvazzt controlled and avoid standing in Lightning Spires. Position yourself between Galvazzt and the Spires to prevent Consume Charge, but watch your Galvanized stacks, which increase the physical damage you take.
Healer. Help block the energy flow by standing between Galvazzt and Lightning Spires when safe. Heal players affected by Galvanized, as it causes significant damage.
Damage Dealers. Stand between Galvazzt and Lightning Spires to prevent Consume Charge. Avoid being hit by the Spires, which deal damage and knock players back. Rotate positions as needed to block the energy flow.
Avatar of Sethraliss
Tank. Pick up Corrupted Guardians and use defensives against heavy Physical and Shadow damage from Tainted Strike. Help control adds while the group kills the Essence Defilers and cleanses Defiling Taint.
Healer. Keep the Avatar healthy and help restore it to full health to end the encounter. Be aware that Defiling Taint and Shadowlash reduce the effectiveness of healing. Be ready when Faithless Tormentors fixate you.
Damage Dealers. Kill all Essence Defilers to remove Defiling Taint, then damage Faithless Tormentors when they appear. Help purify Corrupted Guardians so the Avatar can consume their Corrupted Lifeforce and recover health.
Frequently Asked Questions
How do I get a Mythic Key in WoW?
To get your first Mythic+ Keystone, you must complete an M0 dungeon or finish another player’s Mythic+ dungeon using their key. After that, you can also receive a Keystone from The Great Vault. Its level will be based on the highest Mythic+ key you completed during the previous week.
How do I increase my Keystone level?
To increase your Mythic+ Keystone level, you must complete the dungeon within the timer. The faster you finish the run, the more levels your key can gain. A Keystone can increase by a maximum of 3 levels in a single run.
What level of gear drops from Mythic+ Dungeons in Midnight Season 2?
After completing a Mythic+ dungeon, you can receive gear ranging from item level 295 to 311, depending on the Keystone level. After the weekly reset, The Great Vault can provide a guaranteed reward ranging from 305 to 318 ilvl, based on your weekly Mythic+ progress.